Easy Dried Flowers
For as long as I can remember I have always wanted to save my wedding bouquet for as long as possible. But the more research I put into it, the more I realized how expensive it can be. To send your bouquet off to a company to get it done can cost hundreds of dollars. So I decided I would be doing it myself.

Now anyone who knows me knows I am not the craftiest person in the world, though I wish I was. So doing anything to my bouquet that might hurt it scared me to death.
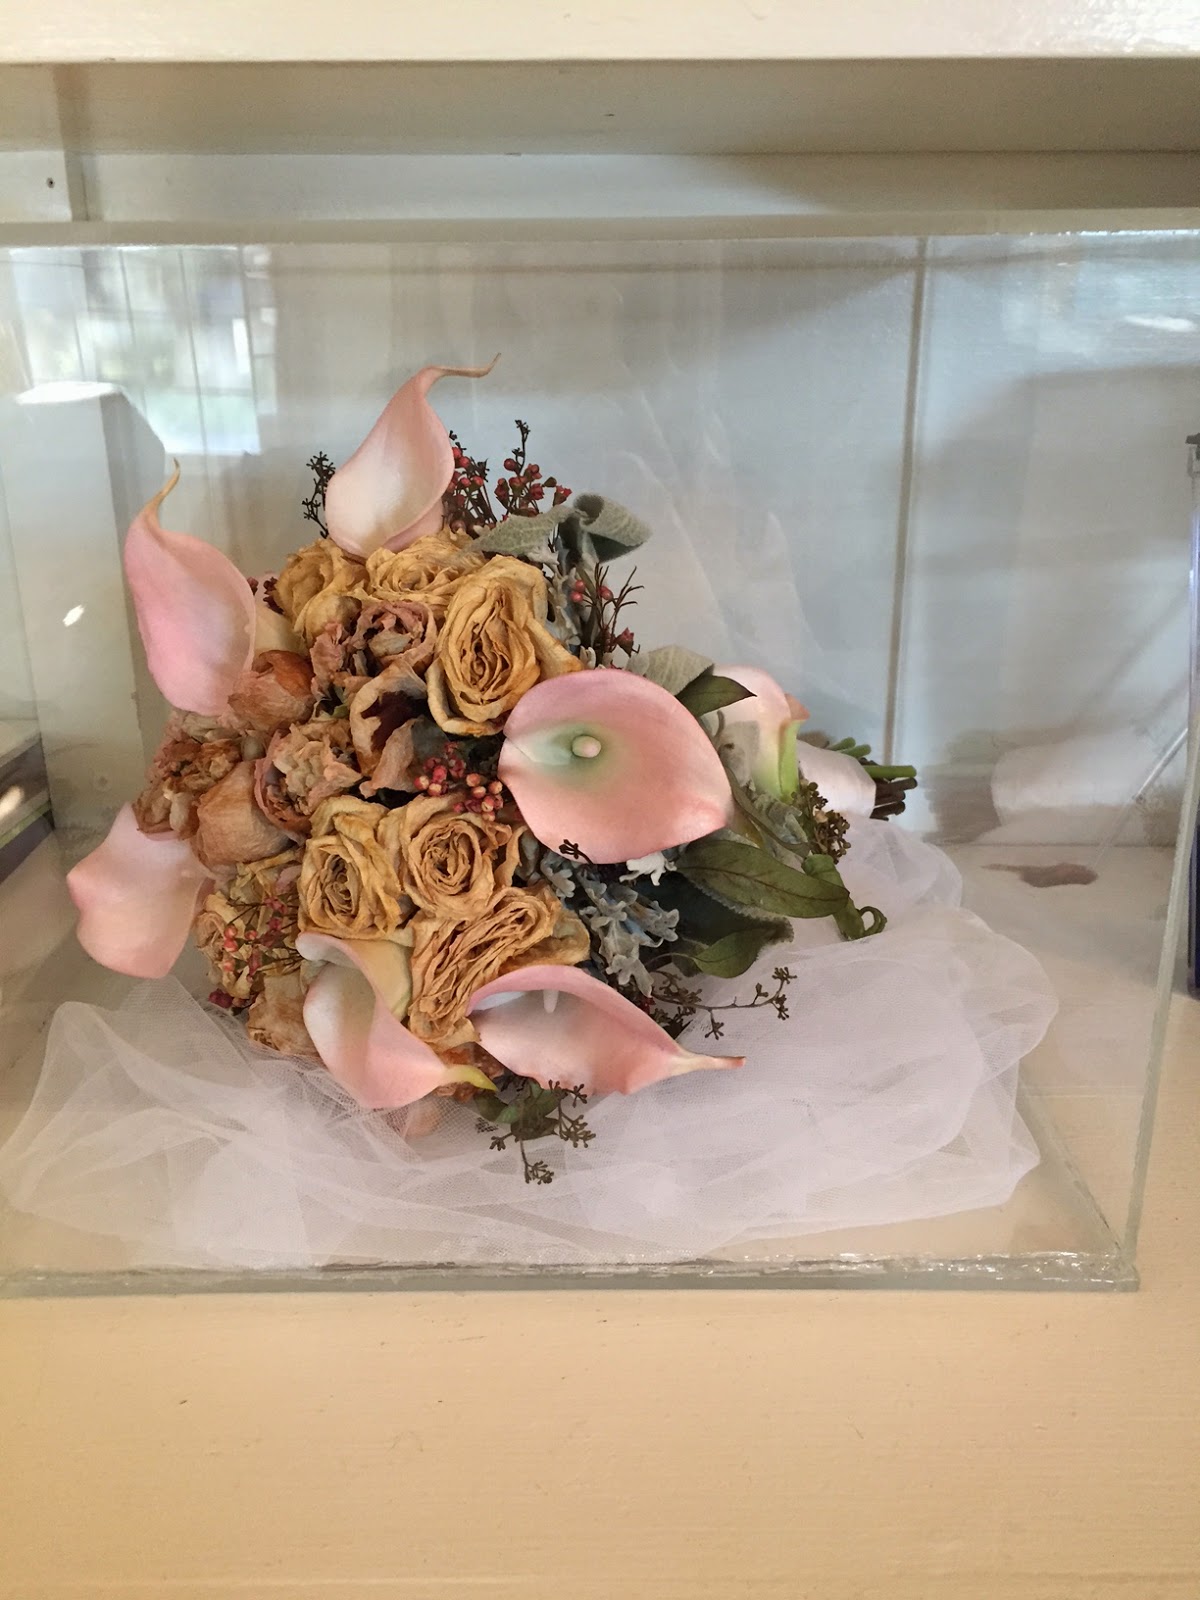
But I conquered the process and my bouquet it safe and sound!
This project did cost me about $80 in the end, but was worth it and is still a million times cheaper than the places that do it professionally.
First things first.
As soon as your wedding is over have a friend or family member hang your bouquet upside-down in a dark cool place to start the drying process. It cannot be humid at all. So the basement is a great place if you have a dehumidifier down there especially.
My bouquet hung for about 2 months. That is way too long. I had problems getting the box I wanted. You should dry your box for about 2-3 weeks or until it's crispy/dry all the way through. My stems turned almost black and that's how I knew they were dry inside as well.
while you bouquet is drying you can decide how you want to put it together and get your supplies ready.
I had a pretty girly wedding and had lots of leftover tulle. So I used some of that as a bed for my flowers inside the box. I think this is great even if you don't have tulle in your wedding because it's soft and delicate and will protect the bottom of your bouquet.
You also need to pick a box. I did a lot of searching online on websites like Ebay and Amazon and finally picked from someone who made boxes on Etsy. It was a bit more expensive than the ones on amazon but I wanted something good quality. You could also order a box made to any size you wanted and I wanted one to bt my bouquet perfectly. (Remember to measure your bouquet's length, height, and width.)
Next depending on the box you got you may need a strong craft glue to keep the box airtight. I also used this glue to keep my tulle on the bottom of the box and I put a bit on the bottom of the stems to keep it from rolling around inside if it were to get bumped.
I bought a glue called Loctite Crafters Indoor-safe Adhesive. It was really strong and took hours to cure. I spent less than $10 and only needed about half the bottle for the whole project. Great investment!
Once your bouquet is dry, it just needs to be put together. I suggest having someone help you. Having four hands is almost necessary.
Cut down your bouquet gently and spray it with hairspray (or flower spray). This keeps the flowers from falling apart and gives them a nice sheen.
Once that's dry, glue the tulle how you want to the base of the box. I took about ten minutes in between each thing I glued to make sure it stuck.
I then put a bit of glue on the base of the flowers and stuck it exactly where I wanted on the tulle. This is where to people come in handy because someone can be looking from above to make sure it is where you want it in the box.
This is where we glued the base of the box and the top and let it set for a few minutes and then used all four hands to make sure we put it on perfectly. Make sure not to get any tulle stuck in the lid.
Now that it's all put together we didn't move the box for two days to really make sure it was stuck together.
And that's that.
if you have any questions about how it turned out or where to get products let me know and i'd love to help!

Comments
Post a Comment